
To configure an LDAP client we must first make sure we have 3 packages installed and an optional 4th one.
[root@rhce7]# dnf -y install openldap openldap-client nss-pam-ldapd authconfig-gtk
Once that check is passed, we can configure the LDAP client with the GUI system-config-authentication, with the command line or directly modifying the configuration files.
To use the authentication GUI we need to install the package authconfig-gtk if we don’t have it. Once installed, the GUI is quite straight-forward:
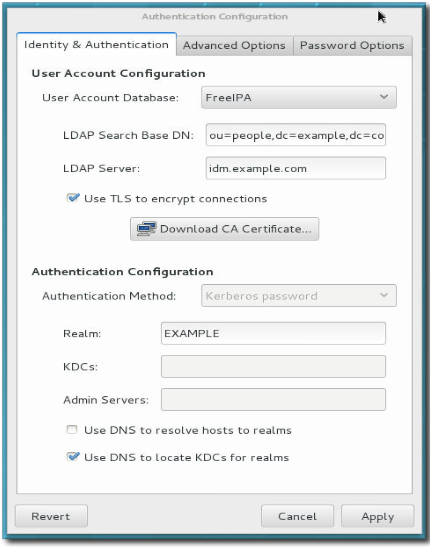
1- In the “Identity & Authentication” tab we choose the LDAP option in the “User account database” menu.
2- Type the Base DN with the notation: “ou=whatever,dc=domain,dc=com”.
3- Type the LDAP server name.
4- Click on the “Use TLS to encrypt connections” checkbox.
5- The “Advanced” and “Password” tabs are optional.
When done with the configuration, we can check that it is working properly with the command:
[root@rhce7]# authconfig –test | grep -i ldap
To configure LDAP authentication with the CLI we would use a command like the following…
# authconfig –enableldap \
. –enableldapauth \
. –ldapserver=ldap://ldap1.whatever.com:389,ldap://ldap2.whatever.com:389 \
. –ldapbasedn=”ou=people,dc=whatever,dc=com \
. –enableldaptls \
. –ldaploadcacert=https://ca.server.example.com/cvaCert.crt \
. –update
… and then again “authconfig –test” to see if things work OK.
We should make sure to change the /etc/nsswitch.conf file to use first files and then ldap as authentication methods. Or maybe even ldap as first option in passwd, shadow, group, etc.